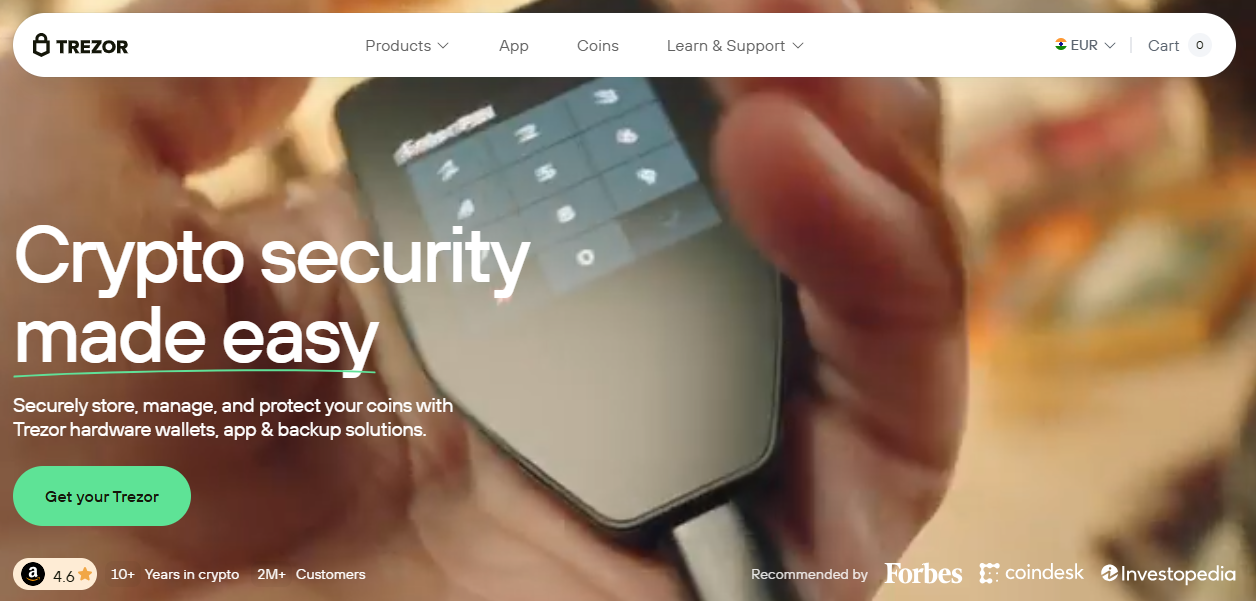
Securing your cryptocurrency is one of the most important responsibilities for any crypto holder. Online wallets and exchanges are often vulnerable to hacks, phishing attacks, and unauthorized access. This is where a hardware wallet like Trezor plays a critical role. Trezor.io/Start is the official onboarding page designed to help users set up their Trezor hardware wallet safely and correctly.
This guide walks you through the complete process of setting up your Trezor device, installing the required software, creating a wallet, and following best security practices to protect your digital assets.
Trezor.io/Start is the official setup portal for all Trezor hardware wallets. It provides step-by-step instructions to initialize your device, install firmware, create a new wallet, and securely store your recovery seed. Using the official setup page ensures that your device is genuine and that you are following verified security procedures.Trezor hardware wallets store your private keys offline, keeping them isolated from internet-connected devices. This significantly reduces the risk of cyberattacks and unauthorized access.
Trezor.io/Start supports the following hardware wallets:
Trezor Model One
Trezor Model T
Both devices provide industry-leading security, though they differ slightly in design and features. The setup process through Trezor.io/Start is similar for both models.
Connect your Trezor hardware wallet to your computer using the provided USB cable. Once connected, the device will power on automatically.
To manage your wallet, you will need to install Trezor Suite, the official desktop application used to interact with your Trezor device. Trezor Suite allows you to send, receive, and manage cryptocurrencies while keeping private keys safely stored on your hardware wallet.
After launching Trezor Suite, you will be prompted to install the latest firmware on your device. Firmware installation is a critical step that ensures your wallet has the most up-to-date security features.
Once firmware installation is complete, you will be asked to create a new wallet. Choose the option to create a new wallet unless you are restoring an existing one.
The recovery seed is the most important part of your Trezor wallet. It is a sequence of 12, 18, or 24 words generated during setup. These words are the only way to recover your wallet if your device is lost, stolen, or damaged.
To add an extra layer of protection, you will be prompted to set a PIN code. The PIN prevents unauthorized physical access to your Trezor device.
Choose a PIN that is hard to guess and avoid using obvious number sequences.